Plan B – Pinder Peak

— submitted by Phil Jackson

Originally we were going to climb Big Interior Mountain, but after watching the weather forecast and
seeing that 1 meter or more snow was going to fall we decided to look further afield for somewhere the storm wasn’t going to hit. Further north the weather was supposed to be much milder. We decided on Pinder Peak in the Province Range.

Pinder Peak approach map

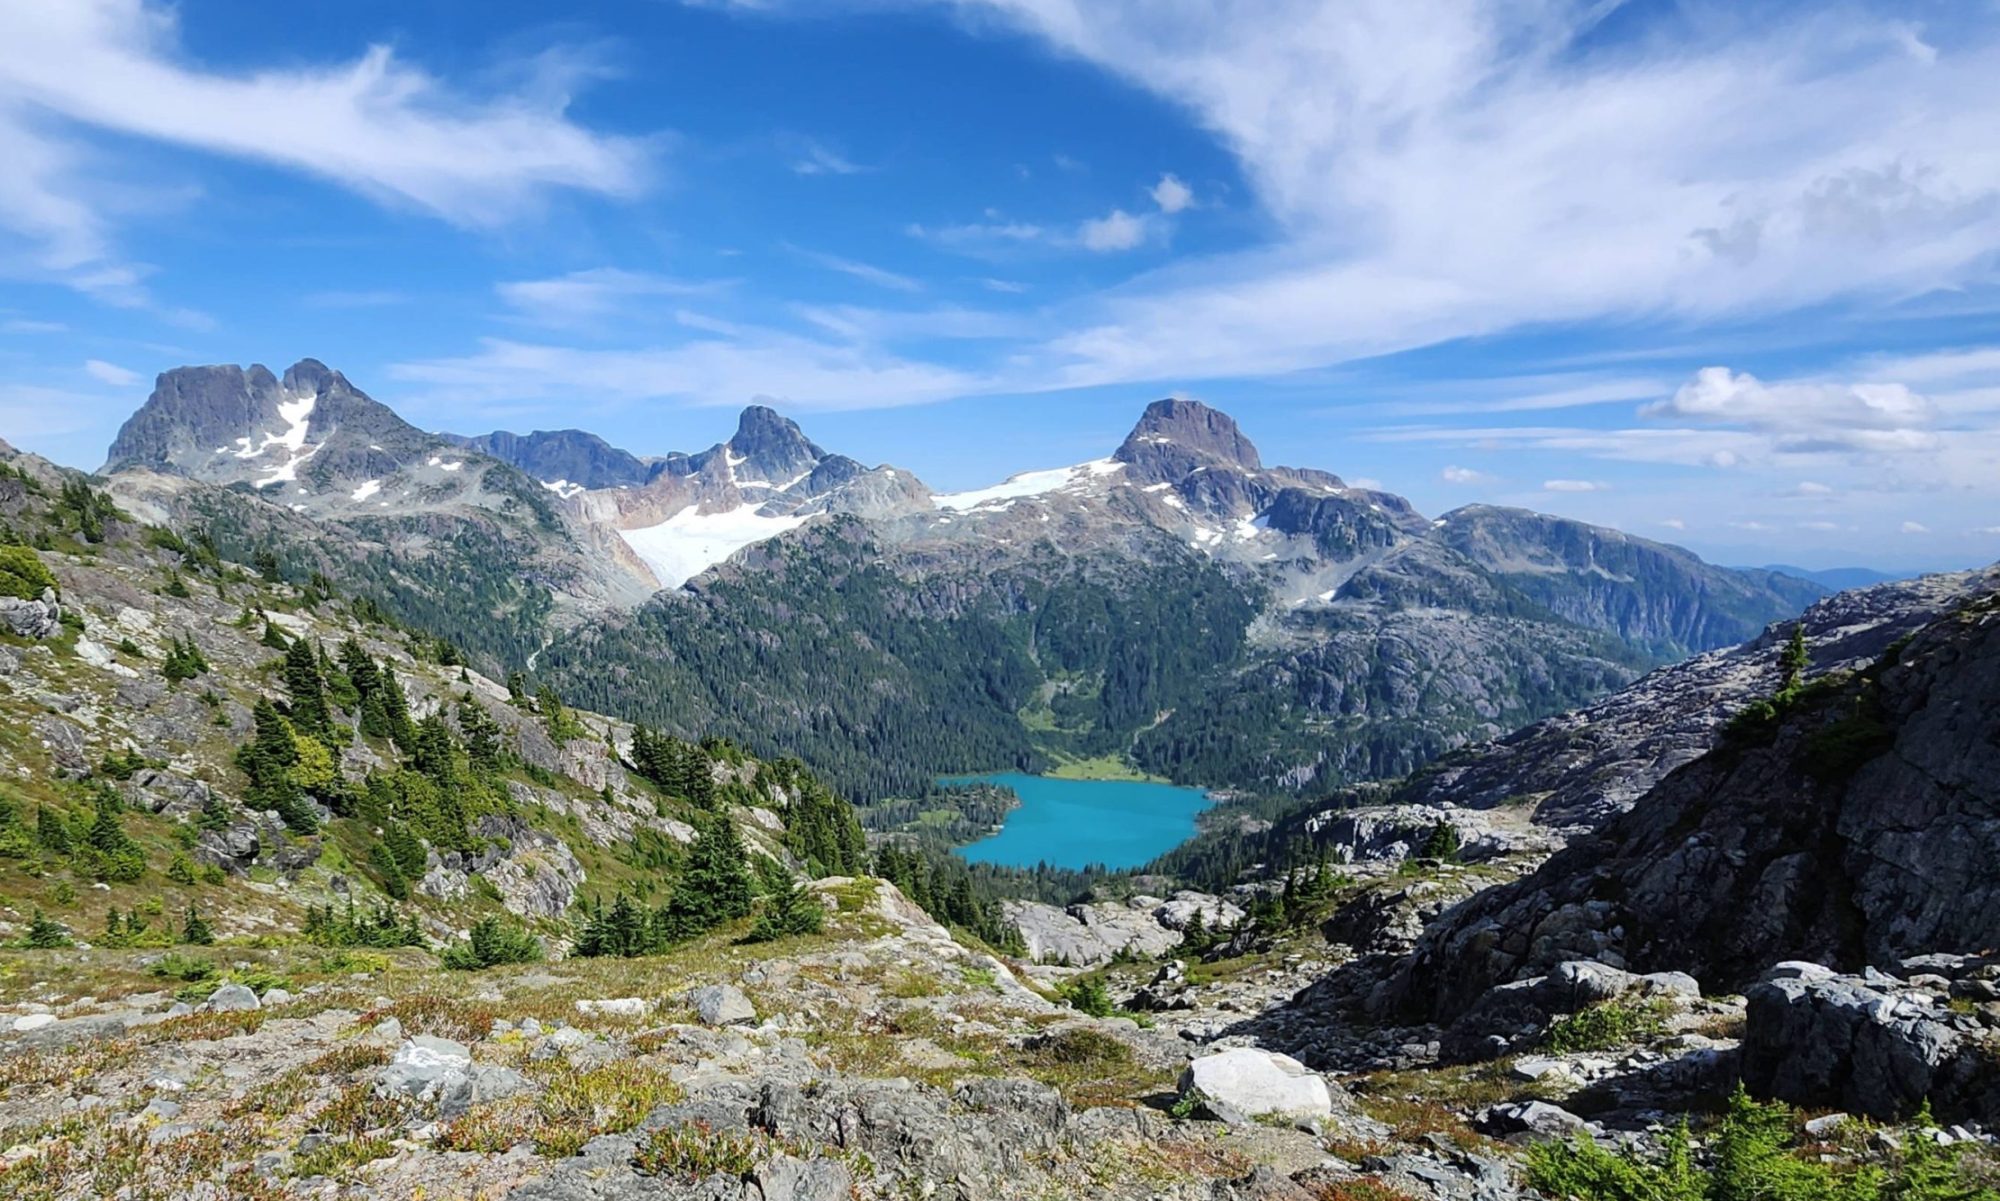
Heading north we turned off at the Zeballos forestry service road, after 9km we turned right onto the Atluck mainline. We came upon one of the most strikingly beautiful lakes on the island, Atluck Lake. After spending some time photographing the lake we carried on to the end of the lake where we turned left onto Artlish main and carried on for a further 4 km tim we came upon the deactivated spur road we were looking for. We hiked up the road to an elevation of 770m and set up camp.

Being as it was only 11:30 we decide to attempt the summit while the weather was good. Heading up through B1/2 bush we came upon a cliff band at approximately 1050m. To our left was a gully that had a raging creek and to the right difficult ground and a flagged route up to the ridge above us. This is also where we hit the first snow. The hike beyond is relatively easy ground. However is was dampened by meter deep powder snow, it  didn’t support weight. Around the same time the weather took a turn for the worst.

By the time we approached the summit we had less than 20m visibility and it was starting to snow quite hard. Reaching our agreed upon turn around time we beat a hasty retreat and arrived back at camp just as it got dark. As it was raining hard and realizing that a summit attempt the next morning was now out of the question, we quickly packed up and headed down to the car using headlamps to see.

This is a very beautiful area with incredible views of both sides of the island with really good road
access and worthy of a visit


See full album of images.

Queen Peak

— Submitted by Matthew Lettington — Read the full report on his blog

Queen Peak (Sutton Range) sits well off the highway, easily accessed via the Seward Junction. The name of the peak often creates confusion with another Vancouver Island feature commonly referred to as Queen’s Face, part of the King’s Peak hike in Strathcona Park. Queen Peak offers a steep approach through logging slash and first-growth forest to reach a long low alpine ridge that leads to its summit, which provides one of the best views of Victoria and Warden Peaks.

Queen Peak Vancouver Island, Hiking Lettington
The view of the valley below

Anticipating a long drive from Nanaimo, our plan of attack included camping at the trailhead to give an early morning start. We left Nanaimo well after dark as I needed to tuck Hemingway into bed first. The four of us rendezvoused at Phil’s house before hitting the long road to Seward Junction. Our beta provided good directions to the trailhead. Though the road is in reasonable condition, we encountered several cross-ditches at the upper elevations. Twice the passengers vacated the car to give enough clearance to get through the ditches and up the steep sections of hill. Once, they even pushed so I could get enough power to get up the hill; damned standards! All told, the drive took about four hours, including the long (more than 40 kilometres) logging road. It may have been faster had we travelled in daylight; the drive includes multiple turns on logging roads, and a few times we nearly took incorrect spurs.

Queen Peak Vancouver Island, Hiking Lettington
A late setup by car-lamp and an evening beverage before bed.
Queen Peak, Vancouver Island Map and GPS Route
Queen Peak GPS Route and Map with photographs

Total Horizontal Distance: 6 km
Starting Elevation: 700 m
Maximum Elevation: 1639 m
Elevation Gain: 972 m
Time: 6 hours 20 minutes

 High up on the logging road, at the start of our hiking route at 720 metres, we set up camp under clear skies. The stars shone bright, outlining the black silhouettes of the distant peaks. We shared a few beers before heading to bed. Though I slept well, I would be remiss in my friend-duties if I left out one detail: we camped near a trickling stream that created a significant amount of noise all night long. Though I didn’t have an issue, several of the hikers found sleep difficult, and made several trips to … water the forest.

–Read the full report on Matthew’s blog: Boring Art, Boring Life

H’Kusam Mountain

–Submitted by Matthew Lettington
Read the full report on his blog, Boring Art, Boring Life

I’m the classic weekend warrior. I only have one day a week to get out and make mountaineering magic happen. Though there is a ridiculous number of opportunities on Vancouver Island for outdoor adventure, Phil and I are exhausting the climbs that are possible to do as day hikes.

H'kusam Mountain via Stow Creak Trail
Phil walking in the krumholtz on our way back from the summit. 

Already we are pushing far up-island. Many of our Sunday adventures require more than five hours of driving, including early 5 am departures from Nanaimo. The Prince of Whales Range is proving to be a great location for new hikes. On Sunday, October 4th, Phil hosted an Island Mountain Ramblers event, a hike up H’kusam Mountain. Four of us met and hiked this objective, and three of us made the summit!

H'Kusam Mountain Stow Creek Trail Map
H’Kusam Mountain via Stow Creek Trail Map

Total Horizontal Distance: 11.1 km

Starting Elevation: 700 m

Maximum Elevation: 1664 m
Elevation Gain: 1028 m

Time: 7 hours

There are several trails used to access this peak. Two of them form a portion of the trail used for the H’kusam Climb, an annual trail-running event hosted out of Seyward. We used the Stowe Creek Trail, accessed off the Stowe Creek Main Line. Driving north about 60 kilometres from Campbell River, turn right off the highway onto Timber Road and take the left fork. The Stowe Creek Main Line follows the route used for the H’kusam Climb and as such, some maps have the road marked as a trail. It’s definitely a road, but only a vehicle with high clearance and 4WD will be able to negotiate the crossditches and creek crossing to make it to the start of the trail. I left my Outback near the highway and hopped into Phil’s Jeep Liberty. The larger vehicle made it to the trailhead at 700 metres of elevation with little challenge…

Read the full report on his blog, Boring Art, Boring Life

Mackenzie Peak

–Submitted by Matthew Lettington
Read the full report on his blog: Boring Art, Boring Life

Highway 14 features some of the bushiest alpine routes on Vancouver Island. Phil Stone even mentions the region in his list of the Island’s best bushwhacks, though this particular route doesn’t make the list. Because the area is not protected by any special status, most of it has been logged. The regrowth is often dense and difficult to navigate, and in alpine regions the stunted trees are even denser – in some cases, wall-like.

Mackenzie Peak, Alberni-Valley Vancouver Island taken by Matthew Lettington
From Mackenzie Summit looking east towards Cats Ears, Tripple Peak and more.

The approach to Mackenzie Peak trailhead is easy. The route starts on Highway 4, about 58 kilometers from the orange bridge in Port Alberni. Look for a pullout on the right side of the road as you round a corner. The trail is on the left side (east) of the highway. We found a long orange ribbon hanging from a tree, marking the start of the trail. We parked on the side of the highway and started up the route just after 8:00 am on Sunday, September 27th. In anticipation of a long day, we didn’t push ourselves too hard.

Mackenzie Peak Map and GPS Route, Vancouver Island
Mackenzie Peak  Map and GPS Route with photographs 

Total Horizontal Distance: 11 km
Starting Elevation: 32 m
Maximum Elevation: 1417 m
Total Elevation Gain: 1449 m
Total Time: 10h 10 m

Read the full report on his blog: Boring Art, Boring Life